In the ever-evolving world of 3D printing, achieving crystal-clear precision and transparency in your prints is a paramount goal. Ultra-Clear Resin, with its exceptional clarity, high hardness, and remarkable ease of printing, has emerged as a game-changer in the realm of resin-based 3D printing. In this blog, we will explore the intricacies of Ultra-Clear Resin, its standout features, and the crucial post-processing steps required to unlock its full potential.
Unveiling Ultra-Clear Resin:
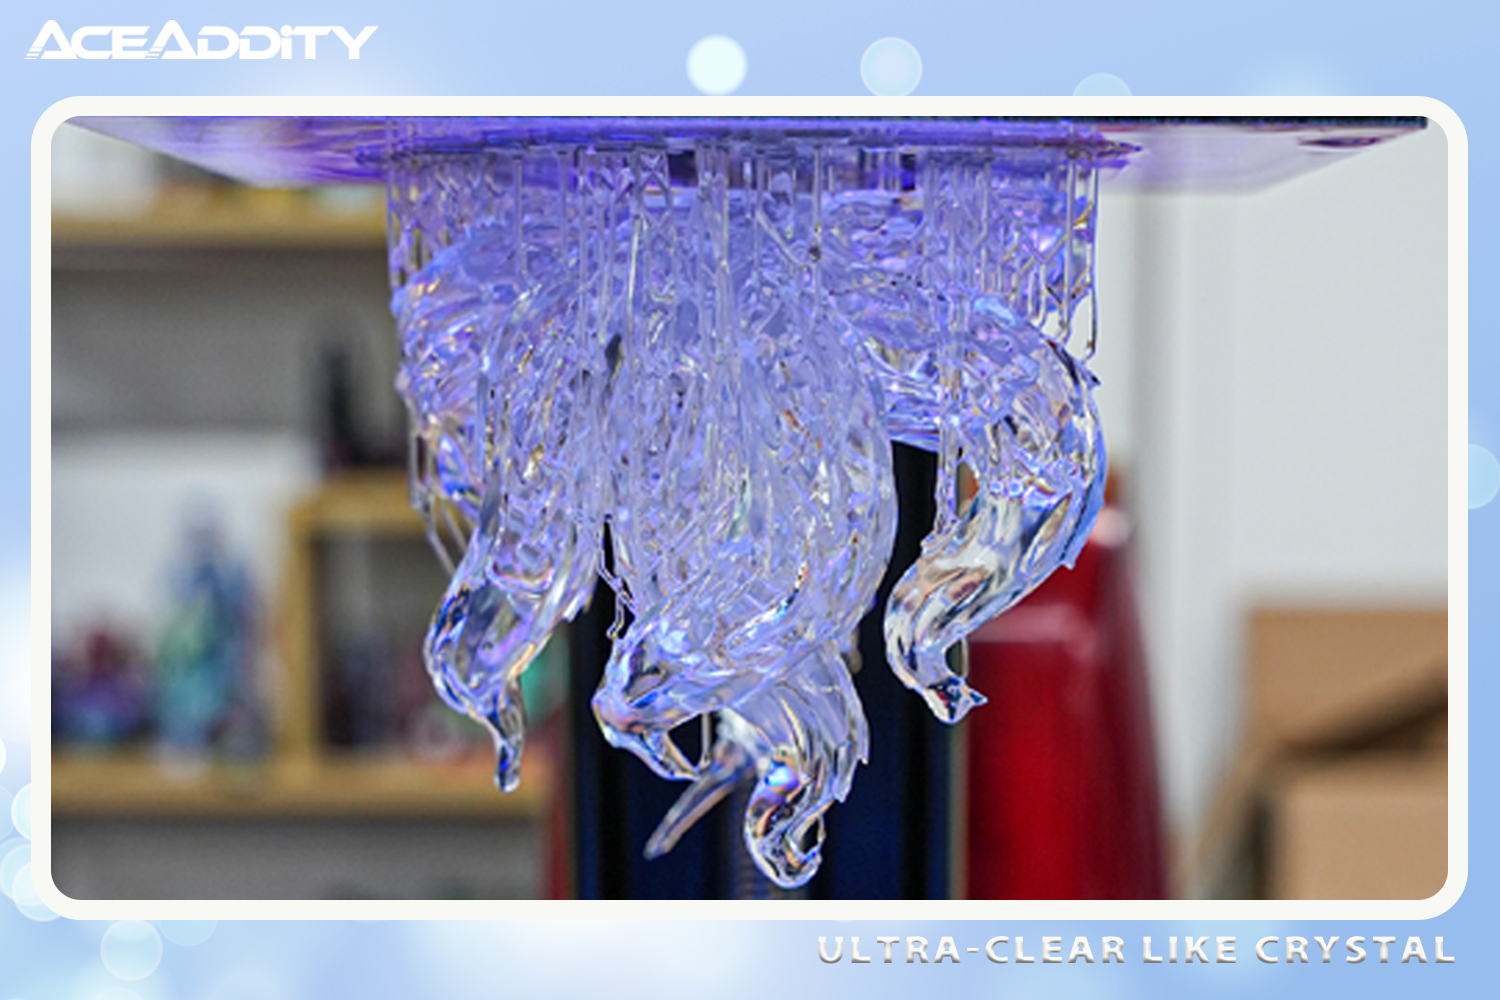
Ultra-Clear Resin is engineered to provide impeccable transparency in 3D prints, ensuring that your creations remain clear and pristine without the undesirable yellowing effect seen in some other materials. Here are the key characteristics that set this resin apart:
High Transparency: The hallmark of Ultra-Clear Resin is its exceptional transparency, allowing you to create prints that are almost invisible, making it an excellent choice for projects that require optical clarity.
High Hardness: This resin boasts high hardness, ensuring that your prints are not only clear but also durable and resistant to wear and tear.
Moderate Flexibility: While it exhibits high hardness, Ultra-Clear Resin also maintains a degree of flexibility, adding a layer of resilience to your printed objects.
Ease of Printing: Ultra-Clear Resin is known for its printability. It adheres well to build platforms, making the printing process smoother and more reliable.
Post-Processing Steps for Ultimate Clarity:
To truly harness the potential of Ultra-Clear Resin and achieve that coveted crystal-clear finish, a series of post-processing steps are essential:
1. Alcohol Cleaning: After printing, immerse your model in isopropyl alcohol to remove excess resin and ensure cleanliness.
2. Surface Drying: Allow the model to air dry or use compressed air to remove any remaining alcohol, leaving the surface clean and ready for the next step.
3. Uniform Coating: Apply a uniform layer of Ultra-Clear Resin to the model's surface. Alternatively, you can use a spray gun to evenly apply a layer of clear resin.
4. Curing: Place the coated model in a curing chamber for approximately two minutes. This step is crucial to solidify the added resin layer and achieve the desired optical clarity.

It's important to note that Ultra-Clear Resin's inherent clarity is influenced by the technology used in LCD light-curing 3D printers. These printers rely on pixel-based screens, which can result in visible pixelation during the printing process. While slicing software may offer anti-aliasing functions to mitigate this effect, it's a technological limitation that's gradually improving with higher pixel densities in 3D printer screens.
In conclusion, Ultra-Clear Resin is a remarkable addition to the world of 3D printing materials, offering a level of transparency and clarity that is unmatched by many alternatives. By following the recommended post-processing steps and understanding the underlying technology, you can fully embrace the potential of Ultra-Clear Resin and bring your 3D printing projects to new heights of clarity and precision.