3D printing has come a long way since its inception.
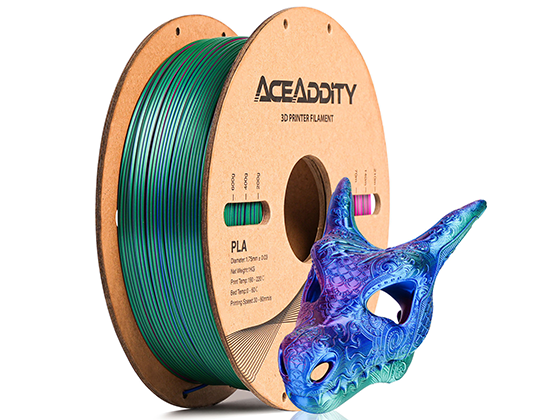
3D resin printing has emerged as one of the most popular methods of 3D printing for making high-quality models with intricate details.
It allows you to create a variety of objects, including prototypes, miniatures, jewelry, and much more.
In this article, we will discuss how to 3D print a model using resin and some tips on how to color and avoid printing failures.
- Step 1: Prepare the model
The first step in 3D resin printing is to prepare the model you want to print. This can be done by using a 3D modeling software or by downloading a pre-existing model from the internet.
It's important to ensure that the model is in a printable format and that it is watertight. The model should also be positioned in the right orientation for printing.
- Step 2: Set up the printer
Once the model is ready, the next step is to set up the printer. This involves leveling the build plate and calibrating the printer.
It's important to ensure that the printer is working properly before starting the print.
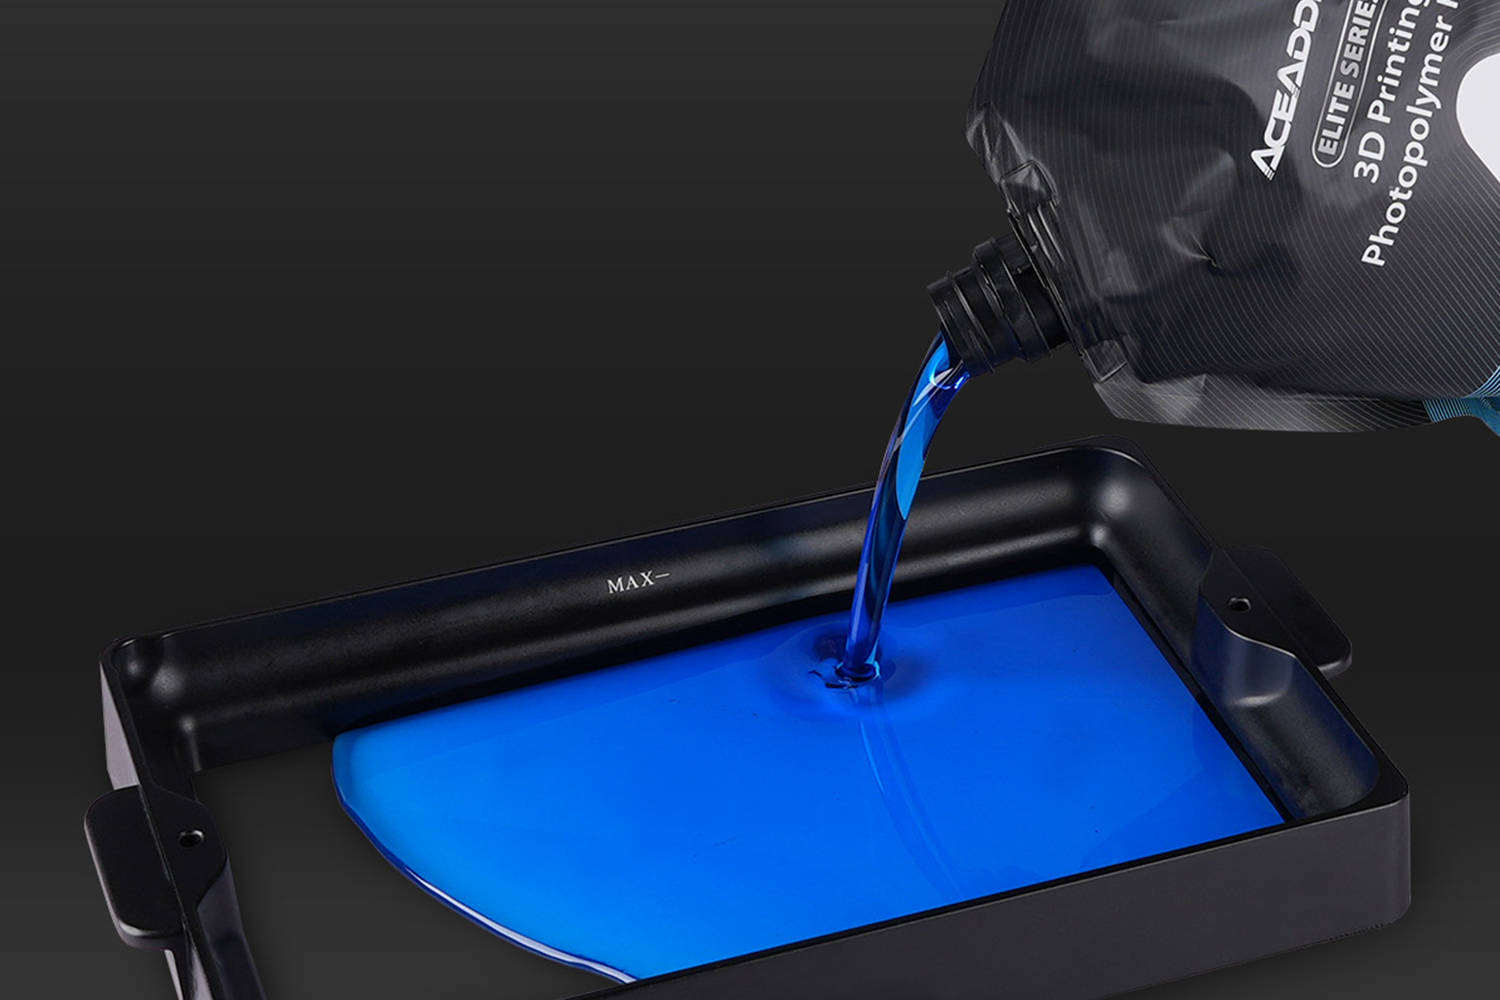
- Step 3: Prepare the resin
The next step is to prepare the resin. Resin printing requires a specialized type of resin that is specifically designed for 3D printing. You will also need a mixing container, a spatula, and gloves.
It's important to follow the instructions provided by the resin manufacturer carefully.
- Step 4: Pour the resin
Once the resin is ready, it's time to pour it into the printer's vat.
It's important to pour enough resin to cover the build plate, but not too much that it spills over the edges.
It's also important to ensure that the resin is spread evenly across the build plate.
- Step 5: Start the print
After the resin is poured, it's time to start the print. The printer will use a UV light to cure the resin, layer by layer, until the model is complete.

It's important to ensure that the printer is working properly and that there are no issues during the printing process.
- Step 6: Post-processing
Once the print is complete, it's time to remove the model from the printer. The model will be attached to the build plate, so it's important to remove it carefully to avoid damaging the model or the build plate.
The model will also be covered in excess resin, which needs to be removed using isopropyl alcohol. The model will also need to be cured under UV light to ensure that it is fully hardened.
Coloring the model

Once the model is cured and ready, it's time to add some color. There are several ways to color a 3D resin printed model. One way is to use acrylic paints, which can be applied with a brush or airbrush.
Another way is to use a UV resin dye, which can be mixed with the resin before printing. The dye will cure along with the resin, creating a colored model.

Avoiding printing failures
There are several factors that can lead to printing failures when using 3D resin printing. One of the most common issues is resin spillage. This can occur if too much resin is poured into the vat or if the printer is not leveled properly.
Another issue is under-curing, which can occur if the printer's UV light is not strong enough or if the print is not given enough time to cure.
It's important to ensure that the printer is working properly and that the print is given enough time to cure.
3D resin printing is a fascinating process that allows you to create highly-detailed models with ease.
It's important to ensure that the model is properly prepared and that the printer is set up correctly to avoid any issues during the process.