We discussed about the most important settings, how they influence the results and how to read different exposure tests available. Now it’s time to define a repeatable procedure to determine the parameters to have the best quality from our printer and resin. Don’t be afraid of failures: report them because they tell the limits of the resin and the printer.
Structured Procedure
- Print the XP2 Validation Matrix. Use the parameters suggested by the resin manufacturer, which generally works for all printer models, to have a solid base to start. Start using a 50µm layer height because the exposure times of different layer heights can be derived from this one. Then look at the result and judge if it’s correctly exposed or not; if it’s not over- or under-exposed, let’s move to the next step. If it’s over-exposed, decrease the exposure time and re-print it; if under-exposed, make the opposite. In this step you can adjust the exposure time of 0.5s at a time, then proceed to 0.1 to 0.2 s increments to be more accurate.
- Print some benchmark models: these models will be the final verdict about the calibration. Compare them to the digital file to judge if the level of detail obtained is enough. As the files are pre-supported, if the model will be ripped from the supports it means we have to increase the exposure to make it printable although we have perfect details. As I said before, it’s all a matter of trade-off. If all prints perfectly, then it’s time to test different layer heights.
- Repeat step 3 for different layer heights, deriving the exposure settings from the already calibrated ones. To do this, use the currently calibrated exposure time and layer height as base. Let’s suppose it’s 2.5s for a 50µm layer height, follow this method:
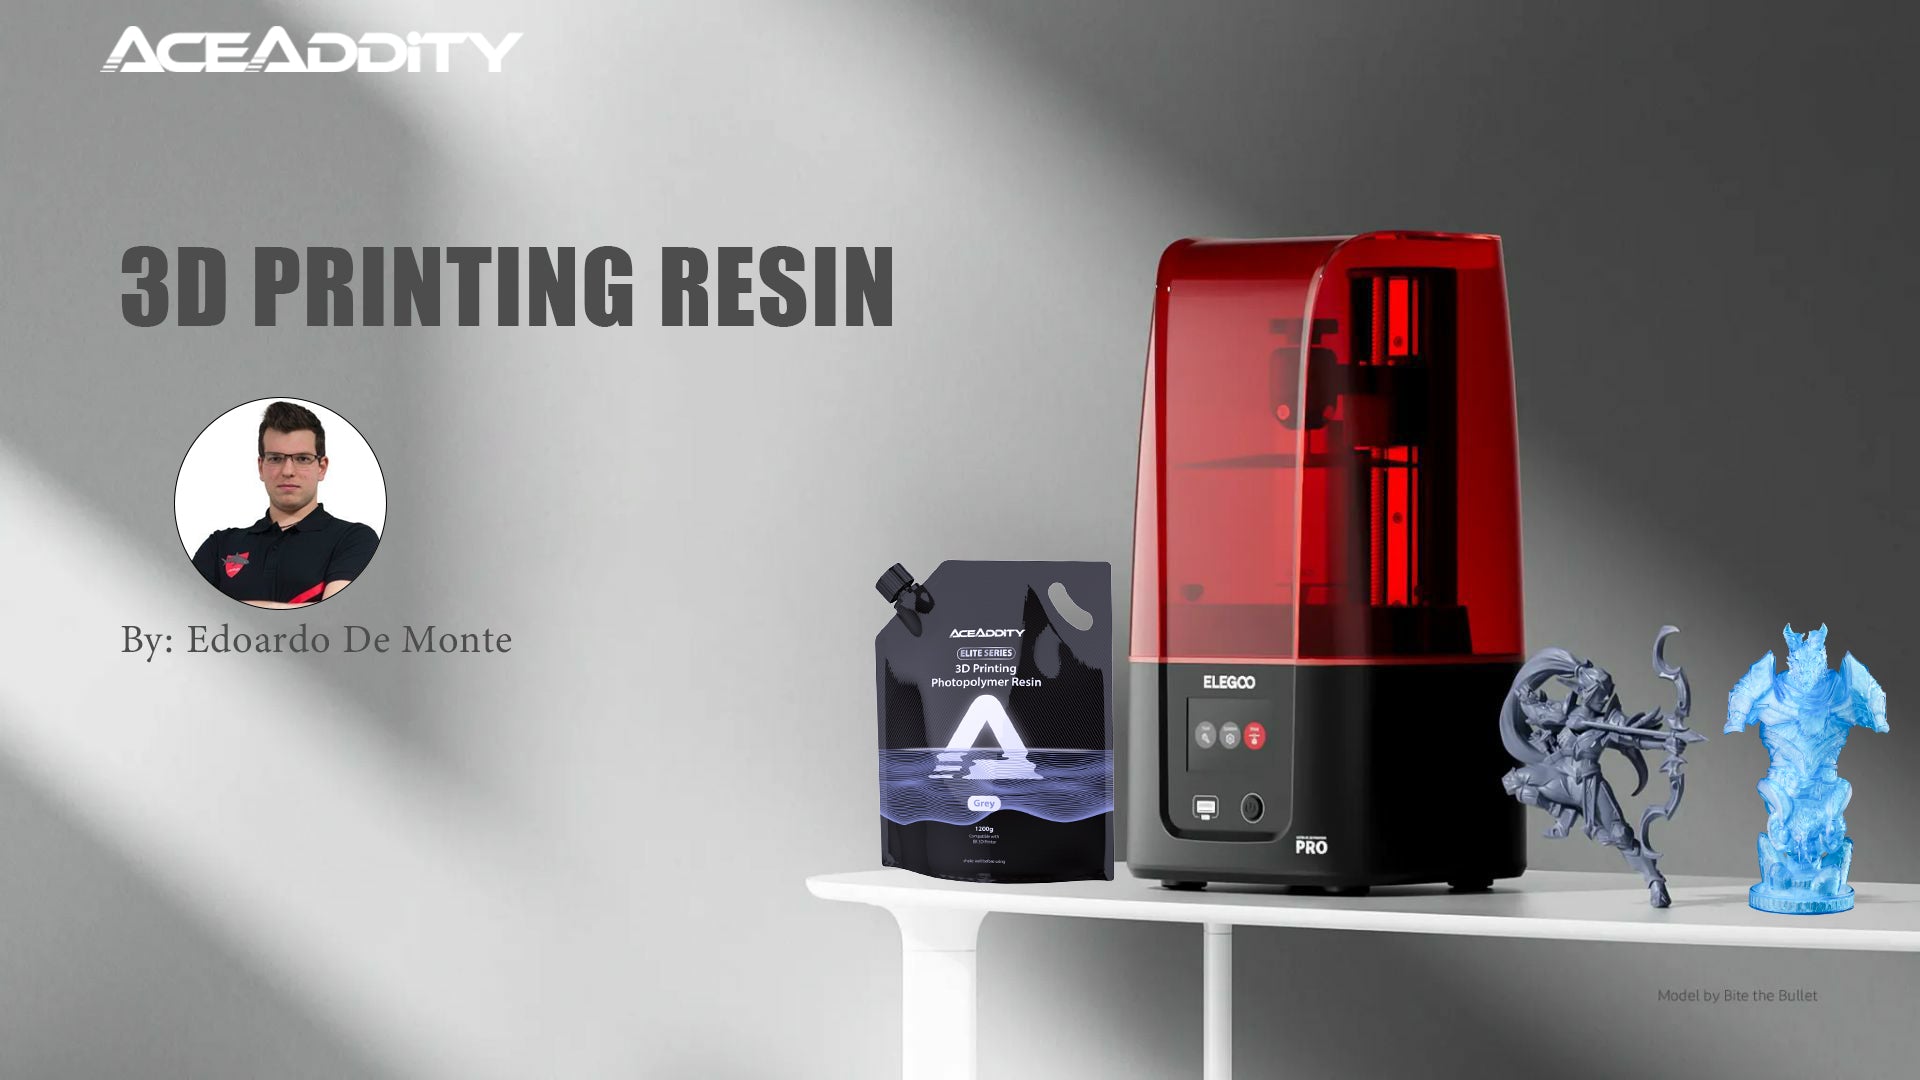
How Aceaddity Elite Resin Performed
The first thing to make to obtain crisp models with high success rate is to use a good quality resin. What are the characteristics of a good resin?
- Low viscosity: reduces a lot the suction force between FEP film and the printed object.
- Low exposure time: this not only reduces the print speed, but also preserves the screen because it won’t be overheated as the UV curing produces heat.
- High pigmentation: this is responsible for the surface detail the resin can capture. The more the pigmentation, the more details are captured without fading them due to light scattering.
- High stability: responsible of the dimensional accuracy if we have different pieces to assemble.
- High strength/flexibility: this depends on the use of the printed objects. For example, a showcase statue doesn’t need the flexibility of a miniature for tabletop gaming.
Aceaddity Elite Resin has all these characteristics, which puts it at the same quality level of other resin with a lot higher cost. Moreover, it’s very affordable, a feature that makes high-quality printing affordable to most of the 3D printing community.

Now it’s time to make the results speak for themselves.
We can see that, overall, the 2.0s exposures performed well in terms of details and strength, as more pillars were successfully printed (even the 0.3 mm one was printed, but it was accidentally broken during the cleaning process). From the other hand, 1.8s is a bit under-exposed because of the less pillars being printed and, but the detail is at the same level. I decided to take the risk to print some benchmark models using 1.8s of exposure and the result is shown in the next images.

The details are awesomely captured by this resin, as you can see by the fine texture of the cyclop’s skin and the wood tables, or boots of the warrior and the crossbowman’s face. There are no visible layer lines as we can see from the cloack of the warrior or the cap of the gnome. Even if the test files told that the resin was under-exposed, the benchmark models told that the times were perfect because the detail is awesome and there weren’t failures. This resin also has a very good dimensional stability and sccuracy, because the characters fits oerfectly in the slots for the feet located in the bases and there is no warping of the bases.
Now that the exposure and main parameters are set, in the next chapters we will see how to optimize the parameters to maximize the printing speed. This is very useful for professionals who needs to have high quality combined with low production times.